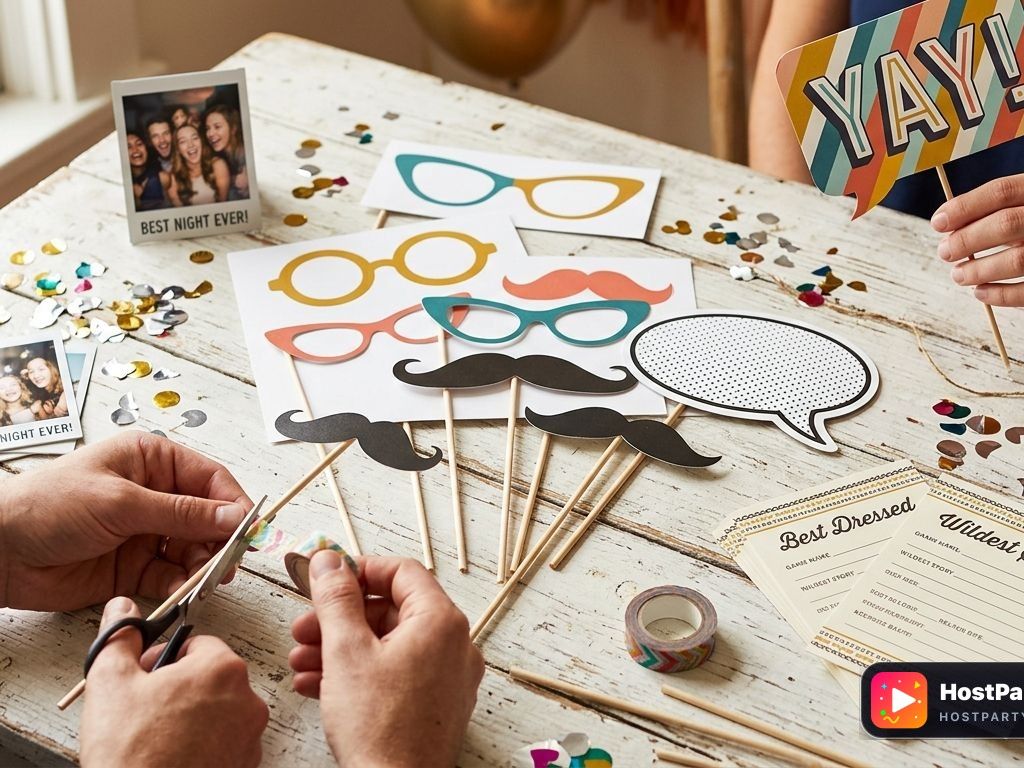
DIY Photo Booth Prop Studio Kit: Printable Glasses, Mustaches, Lips & Comic Speech Bubbles
Printable photo booth props kit with funny retro glasses, dapper mustaches, glam lips, speech bubbles, and award ballots for unforgettable party snapshots.
Scan with your phone to open the PDF directly or send to your wireless printer.
DIY Photo Booth Prop Studio Kit: Printable Glasses, Mustaches, Lips & Comic Speech Bubbles — Quick Print Guide & Summary
Key printing specifications, paper recommendations, and game pairings.
DIY Photo Booth Prop Studio Kit: Printable Glasses, Mustaches, Lips & Comic Speech Bubbles is an instantly downloadable keepsake card PDF provided free by HostPartyPlay for quick home or classroom printing.
| Category | Shower & Milestone Keepsakes |
|---|---|
| File Format | 📄 Digital PDF (Instant Download) |
| Printable Type | 💌 Keepsake Card |
| Cost & Access | ✅ 100% Free (No paywall or sign-up) |
| Recommended Paper | Standard Letter (8.5 × 11 in) or 65 lb white cardstock |
| Supported Game | Universal / Standalone Party Activity |
Print & Prep Guide
Pro tips for printing crisp game materials and scorecards from any device.
Recommended Paper Stock
Standard 20 lb copy paper works fine for single-use scorecards, but 65 lb – 110 lb white cardstock gives a professional game-store feel.
Printer Scaling & Settings
Set your printer scaling to '100%' or 'Fit to Printable Area'. Our PDFs use standard 0.5-inch safety margins for home and office printers.
Clean Cutting & Trimming
For card decks and prompts, a simple sliding paper trimmer gives razor-sharp edges in seconds. Standard household scissors work great too.
Dry-Erase & Reusable Prep
Slip sheets into clear sheet protectors or run them through a thermal laminator to use dry-erase markers party after party.
- Standard Letter paper (8.5 × 11 in) or 65 lb cardstock
- Home, office, or local print shop printer (Color or B&W)
- Scissors or rotary paper trimmer for card cutouts
- Pencils, pens, or dry-erase markers for game guests
Host Guide & Instructions
Rules, gameplay prompts, and setup notes for running this printable activity.
What Is DIY Photo Booth Prop Studio Kit?
The DIY Photo Booth Prop Studio Kit is an all-in-one printable maker collection engineered to turn any empty living room corner, wedding nook, birthday lounge, or office party into an unforgettable interactive photo studio. Featuring precision-designed cutouts—including dramatic vintage mustaches, pin-up pouts, funky glasses, and punchy comic speech bubbles—this kit instantly breaks the ice and gets camera-shy guests grinning. Suitable for all ages (kids through adults), recommended for 4 to 50+ guests, and designed to provide endless entertainment throughout your entire party runtime.
Printing & Materials Guide
For durable, picture-perfect props that do not bend, wilt, or produce harsh flash glare, follow these production specs:
- Cardstock: Print on heavy 80lb to 110lb cover cardstock. A smooth matte finish is critical—glossy finishes cause high flash glare under smartphone LEDs and strobe lights.
- Cutting Tools: Use sharp heavy-duty paper scissors for outer edges. For interior eyeglass lenses and intricate mustache curls, use an X-Acto craft knife on a self-healing mat.
- Mounting Rods: 10-inch to 12-inch wooden craft dowels (3/16" diameter) or sturdy decorative paper straws.
- Adhesive: Apply hot glue or heavy-duty permanent mounting tape. For maximum durability, sandwich the stick between the back of the prop and a small scrap piece of cut cardstock.
- Storage Vessels: Display completed props upright in wide-mouth Mason jars, tin buckets, or glass vases filled 2 inches deep with dry rice or glass beads to keep them standing tall and easily visible.
Host Opening Script
💡 Host Takeaway & Quick Tip"Listen up, superstars! The official photo studio is officially open for business. The rule of this party is simple: whatever happens in front of that backdrop stays forever on the camera roll. Do not be shy—grab a pair of giant glasses, slap on a vintage mustache, pick a speech bubble that speaks your truth, and give us your absolute best magazine cover pose. Don't forget to vote on our Golden Shutter award ballots near the bar before the night ends!"
Step-by-Step Setup & Photo Booth Flow
- Position the Photo Zone: Set up your backdrop against a flat wall out of the main traffic flow. Ensure ambient lighting is bright and even to eliminate harsh facial shadows.
- Deploy the Prop Bar: Place your Prop Station table directly to the left of the backdrop. Set up the printed 8x10 Table Sign ('Grab a Prop, Strike a Pose') in a simple standing picture frame, with props arranged in jars by category (Lips/Mustaches in Jar 1, Eyewear in Jar 2, Speech Bubbles in Jar 3).
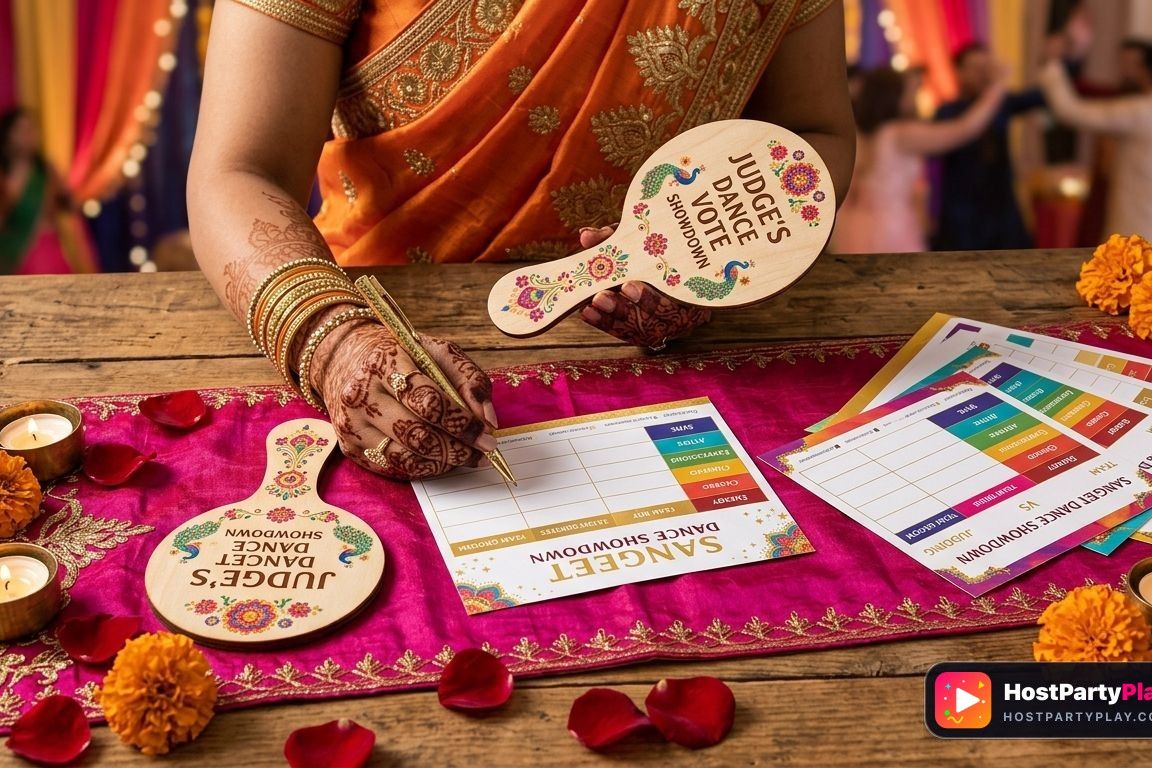
- Provide Marker for Blank Props: Leave a black chisel-tip dry erase or metallic marker next to the write-your-own speech bubbles for custom guest roasts and party catchphrases.
- Run Mini Group Challenges: Throughout the party, call out lightning prompts over the music: 'Next 5 minutes: Worst Mustache Face-Off!' or 'Squad Photo: Everyone grab a speech bubble!'
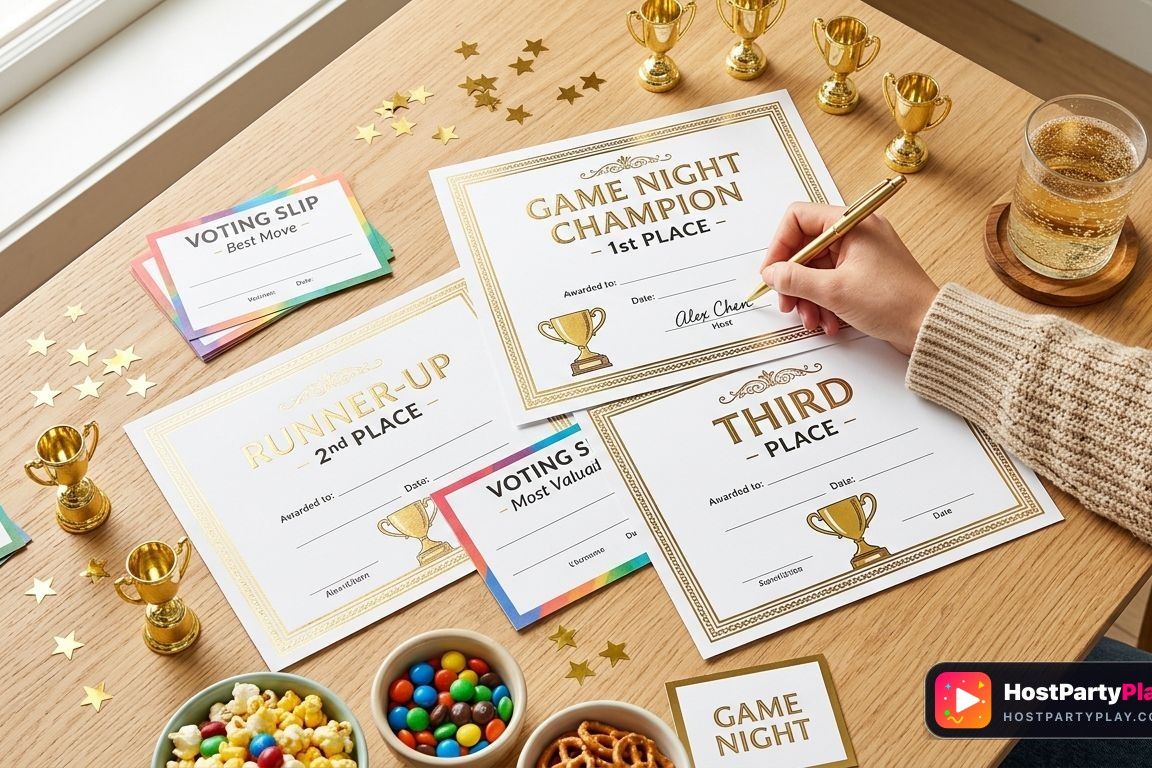
- Distribute Award Ballots: Thirty minutes before party wrap-up, distribute the 'Golden Shutter Voting Ballots'. Have guests cast votes for the funniest, wildest, and most dramatic photo moments.
Voting, Accusations & Award Superlatives
Wrap up the festivities by tallying the Golden Shutter ballots. Call everyone around the photo station and present printable certificate ribbons or novelty awards for:
- The Method Actor Award: For the guest who held their prop in place during normal conversation without breaking character.
- The Chaos Coordinator: For the mastermind behind the largest, most chaotic group photobomb of the night.
- Best Prop Mashup: Awarded to the guest who successfully wore 3 or more conflicting props simultaneously in one glorious shot.
- The Viral Moment: The snapshot that instantly made it to everyone's group chat within seconds of being taken.
Host Pro-Tips & Common Mistakes
- Dowel Placement Secret: Never glue the stick directly in the center of glasses—glue it to the far outer corner (left or right side). This allows guests to hold the glasses up to their face comfortably without blocking their nose, smile, or mouth prop.
- Avoid Flash Glare: Angle your primary light sources 45 degrees toward the subject from slightly above eye level. Never position a direct flash hitting cardstock head-on.
- Reinforce Heavy Props: Speech bubbles and oversized glasses tend to wobble. Glue an extra strip of cardboard along the backside horizontal spine to provide structural rigidity.
- Designate a Booth Captain: Assign a fun, extroverted friend or teenager to monitor the station for the first 20 minutes to photograph shy guests and encourage creative posing.
Complete Your Party Plan
Pair this with perfectly matched recipes, printables, and planning tools for a stress-free event.
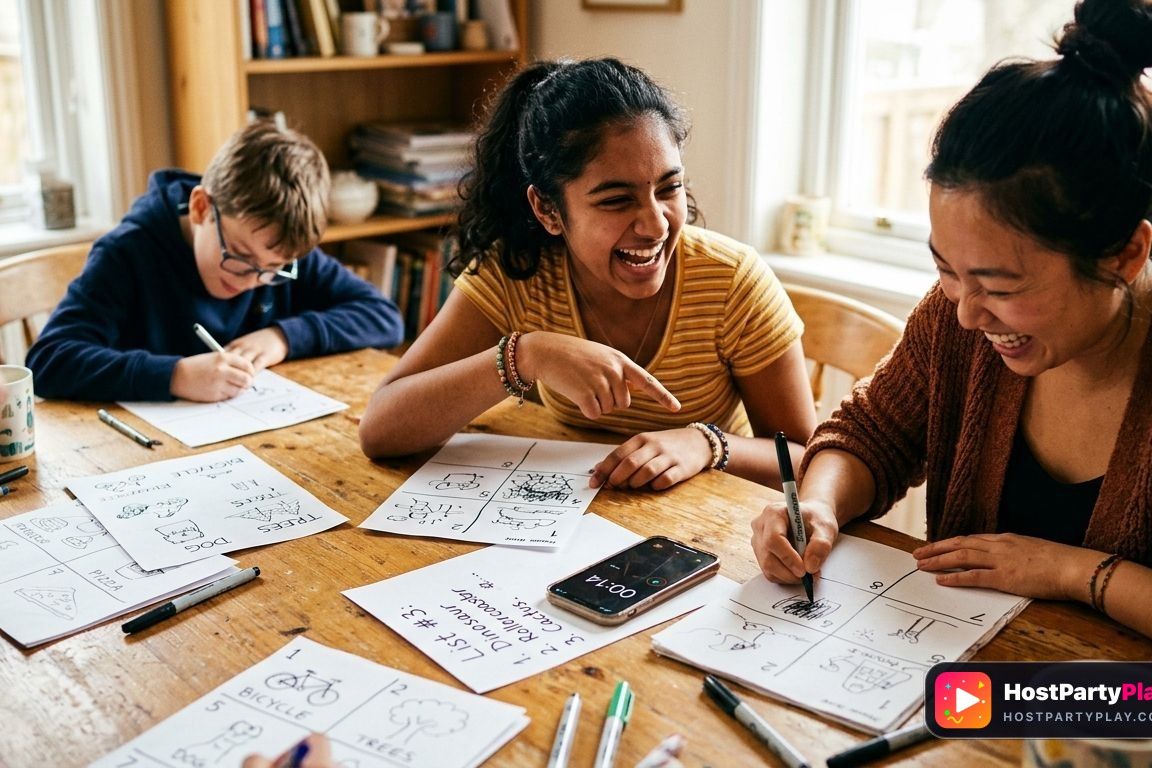
Speedy Scribbles: The Fast Memory Drawing Game
Speedy Scribbles tests quick sketches and fuzzy recall. Players rapidly doodle prompt words, then scramble to decode their own chaotic artwork.
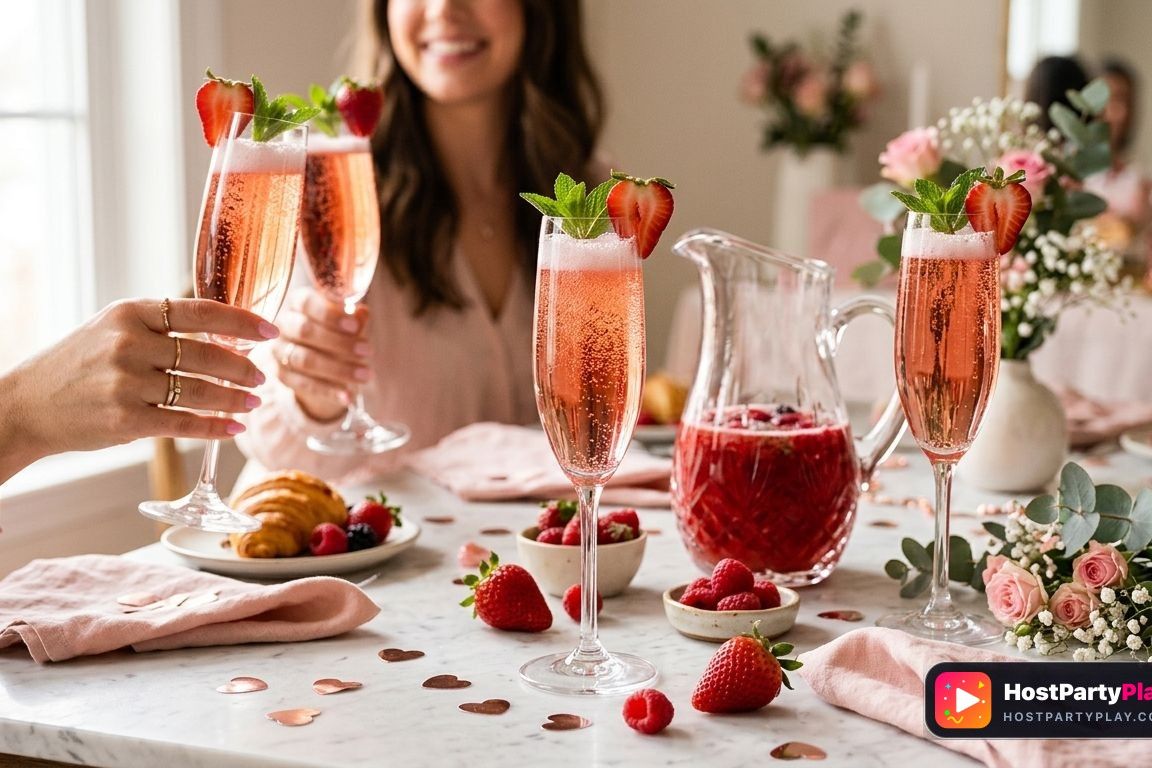
Blushing Strawberry Mimosas for a Crowd
Blushing strawberry mimosas blend fresh berry puree with crisp sparkling wine for romantic Valentine's brunches. Prep the fruit base early and pour cold.
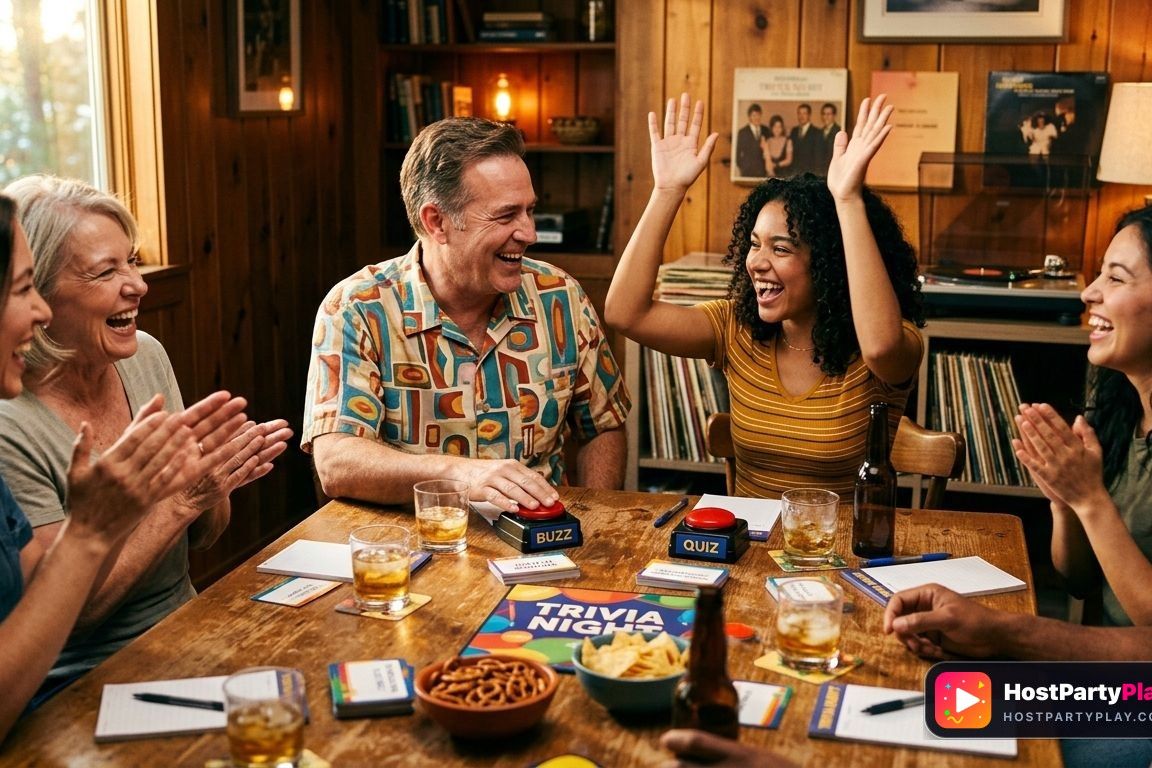
Retro Dad Trivia: 70s, 80s & 90s Father's Day Quiz
Test your family with 55 Father's Day trivia questions covering 70s, 80s, and 90s dad culture, TV, and music. Perfect for Father's Day game night.